
Key takeaways
- Count containers by type and size.
- Use the maximum working inventory, not today’s stock.
- Confirm usable dimensions and shelf layout for the exact model.
Build the working inventory
List each container type, its dimensions, quantity and expected maximum inventory. Separate containers that require different storage routes before calculating cabinet space.
Turn container counts into shelf space
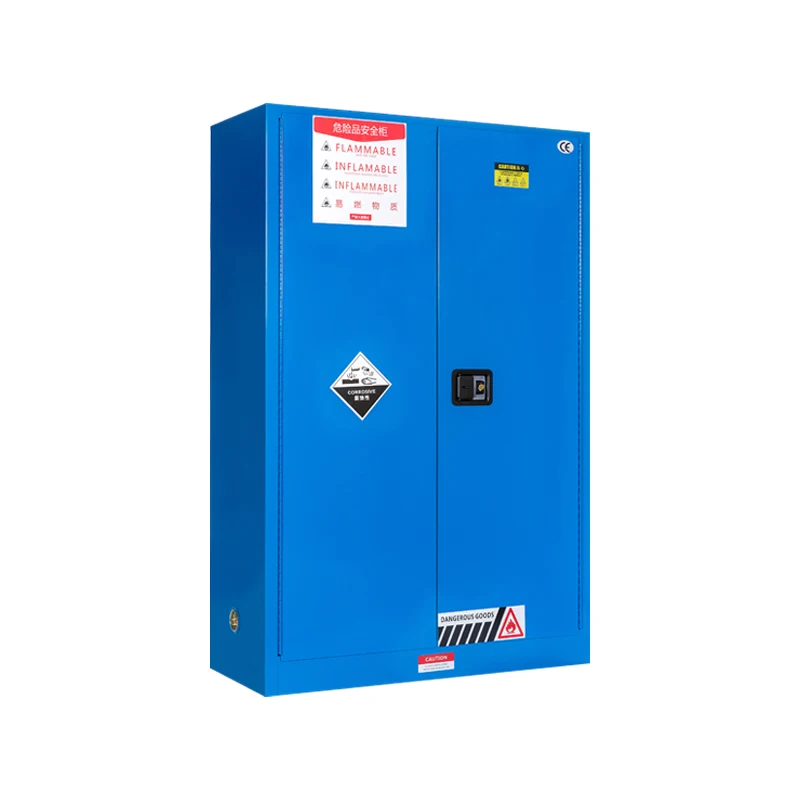
Map bottles, cans or other containers to the available shelf width, depth and clear height. Allow for trays, door hardware and safe handling clearance.
- Container footprint and height
- Maximum quantity
- Shelf count and adjustment range
- Tray or sump space
- Door and handling clearance
- 01Count containers by type and size.
- 02Use the maximum working inventory, not today’s stock.
- 03Confirm usable dimensions and shelf layout for the exact model.
Do not use nominal gallons as the only filter
A gallon label is a product-family reference, not a promise that every mix of containers will fit. Two projects with the same liquid volume can require different cabinets because the container count and shape differ.
Check the cabinet against the room
| Constraint | Measurement |
|---|---|
| Footprint | Available width and depth |
| Access | Door swing, aisle and loading clearance |
| Height | Cabinet height and overhead restrictions |
| Installation | Floor, wall and nearby service interfaces |
Send a size request a supplier can answer
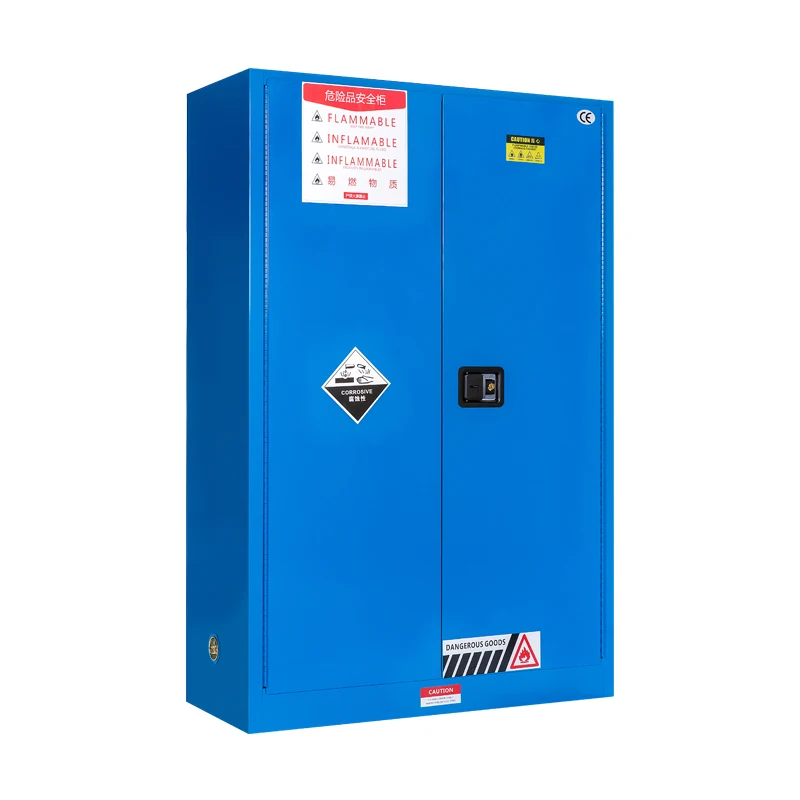
Send the container schedule, required quantity, room dimensions and preferred door or shelf arrangement. Ask for external dimensions, usable internal dimensions and the model drawing when available.
Use a container-layout method
Create one inventory row for each container format. Multiply footprint width by depth only as an initial screening value; the usable result must also account for gaps, shelf lips, trays, bottle handles and safe retrieval. Tall containers may consume an entire shelf level even when the remaining liquid volume is small.
Run the layout at the maximum expected working inventory and add the facility’s approved growth allowance. Do not fill spare space with incompatible products merely to improve utilization.
| Step | Input | Output |
|---|---|---|
| 1. Inventory | Container dimensions and count | Maximum storage set |
| 2. Segregate | SDS and compatibility groups | Separate layout groups |
| 3. Fit | Usable shelf dimensions | Containers per shelf |
| 4. Access | Door and handling clearance | Operational layout |
| 5. Verify | Model drawing and shelf load | Purchasable configuration |
Move from calculation to a model request
Start with the cabinet capacity and size checklist, then compare safety cabinet models by capacity. The chemical storage cabinet buying guide covers the other selection gates that capacity cannot answer.
Door clearance can change the usable room layout. Review self-closing and manual-close cabinet doors before fixing the final footprint in a project drawing.
A worked layout is more useful than a gallon label
Suppose the inventory contains twenty-four one-liter bottles, eight 2.5-liter bottles and four five-liter cans. Their combined liquid volume does not reveal how many shelf levels are needed. Bottle diameter, can width, closure height and the clearance needed to lift a container determine the layout. Divide the inventory into compatible groups first, then draw each container footprint on the proposed usable shelf dimensions.
Apply the same method to growth allowance. Adding twenty percent to liquid volume may still add an entire shelf if the new containers are tall or cannot share a row. The useful output is not a single calculated gallon number; it is a shelf-by-shelf schedule showing container type, count, clear height and remaining usable positions. That schedule can be checked against a model drawing and revised when the inventory changes.
- Use maximum working inventory, not average stock.
- Keep incompatible groups out of the same space calculation.
- Reserve access space around tall or handled containers.
- Confirm shelf load as well as dimensions.
- Document the final arrangement for future inspections.
Turn the layout into a controlled capacity record
Give the approved layout a revision number and attach it to the cabinet asset record. List each shelf level, usable dimensions, permitted container group, maximum container count and shelf load. When procurement substitutes a package size or the laboratory increases inventory, revise the layout instead of assuming the new containers fit because total gallons remain unchanged.
Check handling at the same time. Heavy cans stored above comfortable lifting height, tightly packed rows that require moving several bottles, and containers hidden behind taller packages all create operational problems even when the geometric calculation works. A practical layout leaves labels visible, allows inspection, and permits one container to be removed without destabilizing another.
Finally compare room capacity with cabinet capacity. Adding cabinets may affect aisle width, door swing, fire-area quantities or facility rules. The model-selection calculation therefore ends with a room and EHS review, not with a shopping filter. Keep the container schedule, proposed model drawing and final approved layout together so future inspections can detect unauthorized changes.
References
- 29 CFR 1910.106 — Flammable LiquidsU.S. Occupational Safety and Health Administration
- 29 CFR 1910.1200 — Hazard CommunicationU.S. Occupational Safety and Health Administration
Sources support the cited regulatory and safety context. They do not certify a Safatrix product or replace model documentation and project review.